How to Organize Your Kitchen Drawers with Stackable Bins and Dividers for Maximum Efficiency
By OneIDDeal™ | Published: 2026-06-25
Category: How-to Guides
Learn how to transform cluttered kitchen drawers into organized spaces using stackable bins and dividers. Discover tips, product recommendations, and step-by-step methods for maximum efficiency.
Kitchen drawers are often the most neglected spaces in a home. They become catch-alls for random utensils, expired coupons, and mismatched lids. But with the right tools—like stackable bins and drawer dividers—you can turn chaos into order. Whether you’re a seasoned home organizer or a beginner looking to declutter, this guide will walk you through practical steps to maximize efficiency in every drawer. Along the way, we’ll highlight some smart storage solutions available at OneIDDeal™ that make the process effortless.
Why Stackable Bins and Dividers Are Game-Changers
Traditional kitchen organization often relies on jamming everything into one drawer. The result? You spend minutes searching for a measuring spoon or a garlic press. Stackable bins and dividers solve this by creating designated zones. They allow you to:
- Maximize vertical space – Stackable bins let you layer items, like storing small snack bags on top of larger containers.
- Prevent shifting – Dividers keep utensils, knives, and gadgets in place when you open and close drawers.
- Reduce clutter – By grouping similar items, you eliminate the need to dig through piles.
- Save time – Every item has a home, so you can grab it instantly.
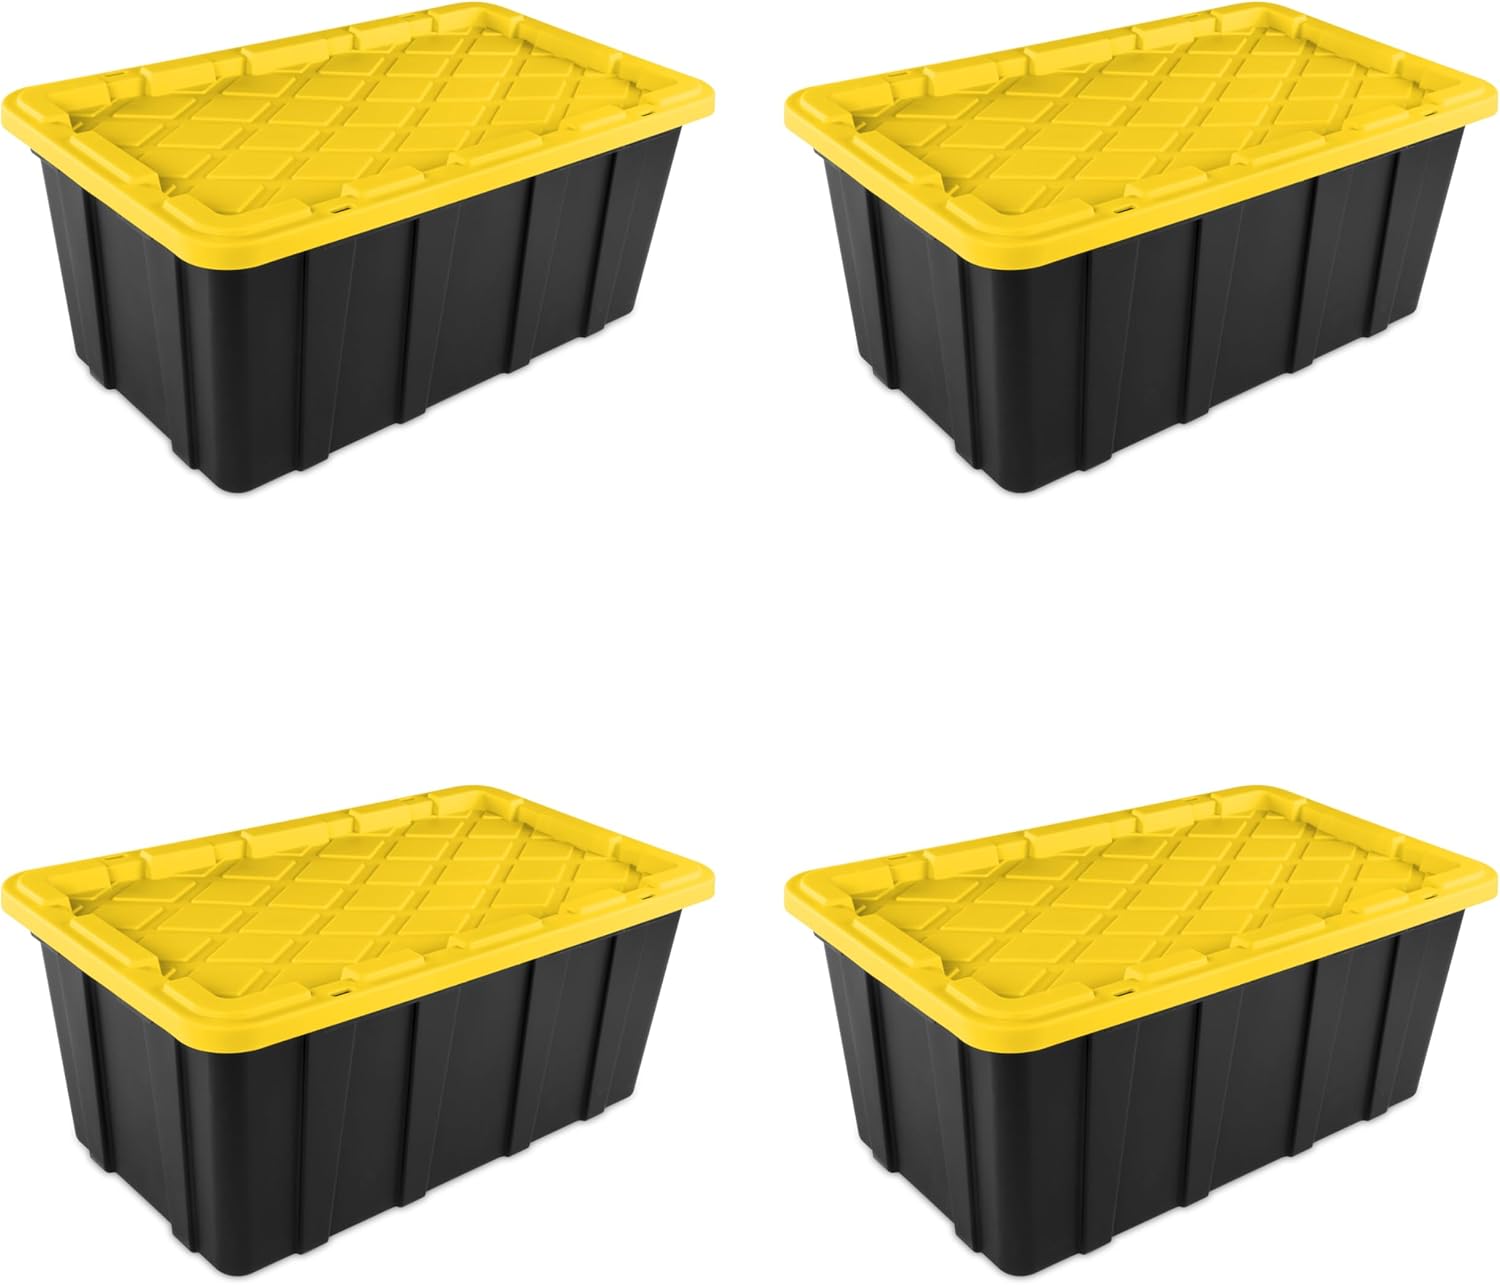
For example, using a Sterilite 17 Gal Industrial Tote in a deep drawer can hold bulk spices or baking supplies, while smaller dividers keep utensils tidy. The key is choosing the right size and material for your needs.

Step 1: Assess Your Drawer Space and Needs
Before buying anything, measure your drawers. Note the depth, width, and height of each one. Drawers vary widely—deep drawers for pots, shallow ones for silverware. Categorize what you’ll store in each:
- Cooking utensils – Spatulas, ladles, tongs
- Baking tools – Measuring cups, rolling pins, cookie cutters
- Cutlery – Knives, forks, spoons
- Gadgets – Peelers, garlic presses, can openers
- Food storage – Lids, plastic wrap, bag clips
Once you know what you’re organizing, you can choose between stackable bins (great for vertical stacking) and dividers (ideal for horizontal separation).
Step 2: Choose the Right Storage Tools
Not all bins and dividers are created equal. Here’s what to look for:
- Material – Plastic bins are lightweight and easy to clean; metal dividers are durable but may scratch drawers. Bamboo options offer a natural look.
- Size flexibility – Adjustable dividers allow you to customize compartments as your needs change.
- Stackability – Look for bins with flat tops and interlocking features for stable stacking.
- Transparency – Clear bins let you see contents at a glance, reducing rummaging.
For a deep drawer, consider using a Sterilite 17 Gal Industrial Tote as a base layer for large items like mixing bowls or canned goods. Its snap-fit lid also makes it portable if you need to move items to a pantry.
Product Spotlight: Stackable Bins for Deep Drawers
When dealing with deep drawers (like those under a counter), stackable bins are invaluable. They allow you to create two layers: bottom for rarely used items, top for daily essentials. The Sterilite tote we mentioned is perfect for this—its sturdy construction handles weight without buckling.
Step 3: Declutter Before Organizing
This is the most crucial step. Empty each drawer completely. Sort items into three piles: keep, donate, and trash. Be ruthless—if you haven’t used a garlic press in two years, donate it. For food storage, toss any lids that don’t match containers. This step ensures you’re only organizing what you actually need.
Step 4: Implement the Zone System
Assign each drawer a specific function. For example:
- Drawer 1 (near stove) – Cooking utensils and spatulas
- Drawer 2 (near prep area) – Measuring cups, mixing spoons
- Drawer 3 (near sink) – Dish towels, scrub brushes
- Drawer 4 (silverware drawer) – Forks, knives, spoons in dividers
Within each drawer, use dividers to separate categories. For instance, in the utensil drawer, place tongs in one compartment, spatulas in another. Stackable bins can hold smaller items like pastry brushes or zesters on top of larger bins.
Step 5: Use Dividers for Shallow Drawers
Shallow drawers (like those for cutlery) benefit most from dividers. They prevent items from sliding into each other. You can buy pre-made divider sets or use adjustable ones that fit different widths. For a budget-friendly option, craft your own using cardboard or thin wood strips.
Top Tip: Label Everything
Labels are a game-changer for maintaining organization. Use a label maker or chalk labels for bins and dividers. This is especially helpful for shared kitchens or when multiple family members use the space.
Step 6: Store Gadgets Vertically When Possible
Long-handled tools like potato mashers, ladles, and spatulas can be stored vertically in deep drawers. Place them in a tall bin or use a utensil organizer that stands upright. This frees up horizontal space and makes them easier to grab.
Step 7: Maintain Your System
Organization isn’t a one-time task. Schedule a quick 5-minute tidy-up each week. Return items to their designated spots after each use. If you notice a bin is overflowing, reassess—maybe you need a larger container or to declutter again.
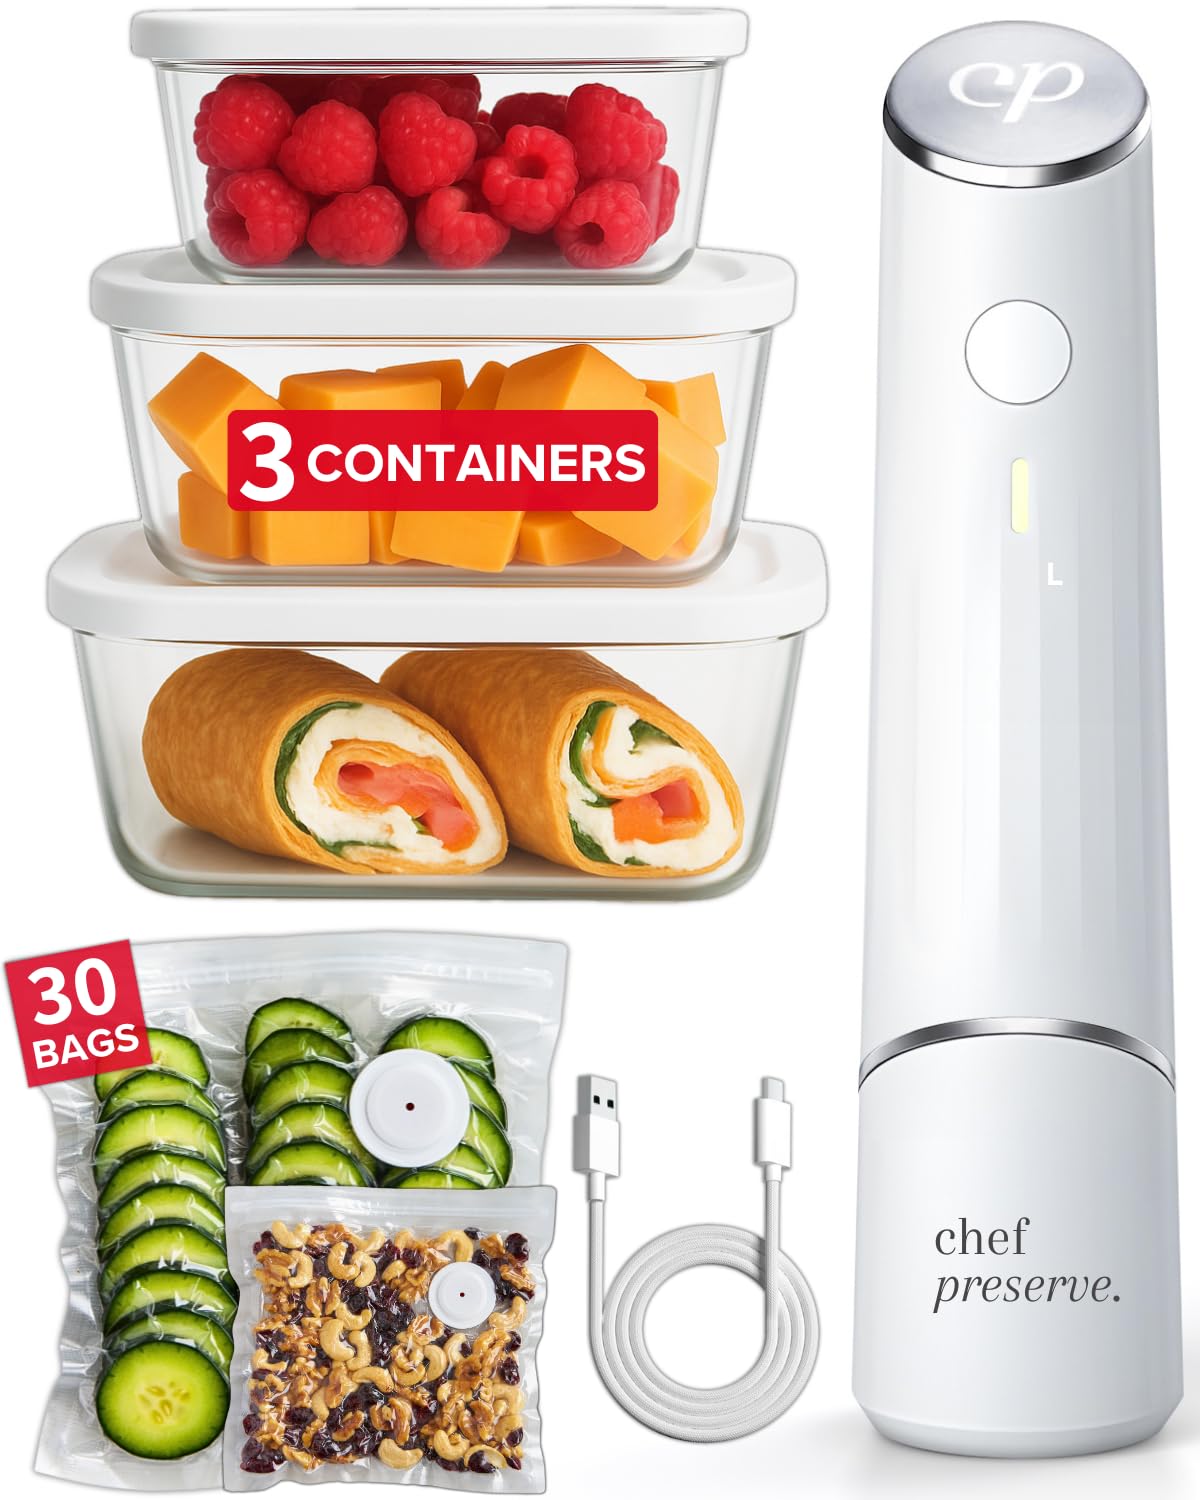
For a final touch, consider a Chef Preserve Compact Vacuum Sealer to store bulk ingredients in sealed bags, which can then be stacked neatly in bins. This not only saves space but also keeps food fresh longer.
Common Mistakes to Avoid
- Overfilling bins – Leave some empty space for easy access.
- Ignoring drawer depth – Using tall bins in shallow drawers leads to lid issues.
- Buying before measuring – Always measure twice, buy once.
- Forgetting about accessibility – Place frequently used items at the front or top layer.
Conclusion: Your Kitchen Drawer Makeover Awaits
Organizing your kitchen drawers with stackable bins and dividers transforms your cooking experience. You’ll save time, reduce stress, and enjoy a clutter-free space. Start with one drawer, apply these steps, and gradually expand to the whole kitchen. With the right tools from OneIDDeal™, like the versatile Sterilite 17 Gal Industrial Tote or the Chef Preserve Compact Vacuum Sealer, you can achieve maximum efficiency without breaking the bank. Ready to get started? Explore these products and more at OneIDDeal™ today!