How to Organize a Coffee Bar with a Baker’s Rack: Maximize Small Kitchen Counter Space
By OneIDDeal™ | Published: 2026-05-30
Category: How-to Guides
Learn how to organize a coffee bar using a baker’s rack to maximize small kitchen counter space. Tips on storage, appliances, and decor for a clutter-free morning routine.
If your kitchen counter is buried under coffee mugs, a bulky microwave, and a mishmash of syrups and filters, you’re not alone. Small kitchen counter space is a precious commodity, and a cluttered coffee station can make your morning routine feel chaotic. One of the smartest solutions for reclaiming that real estate is a baker’s rack. These versatile, open-shelf units are ideal for creating a dedicated coffee bar while freeing up counter space for meal prep. In this guide, we’ll walk through exactly how to organize a coffee bar with a baker’s rack, from choosing the right rack to styling it for both function and beauty.
Why a Baker’s Rack Is Perfect for Coffee Bar Storage
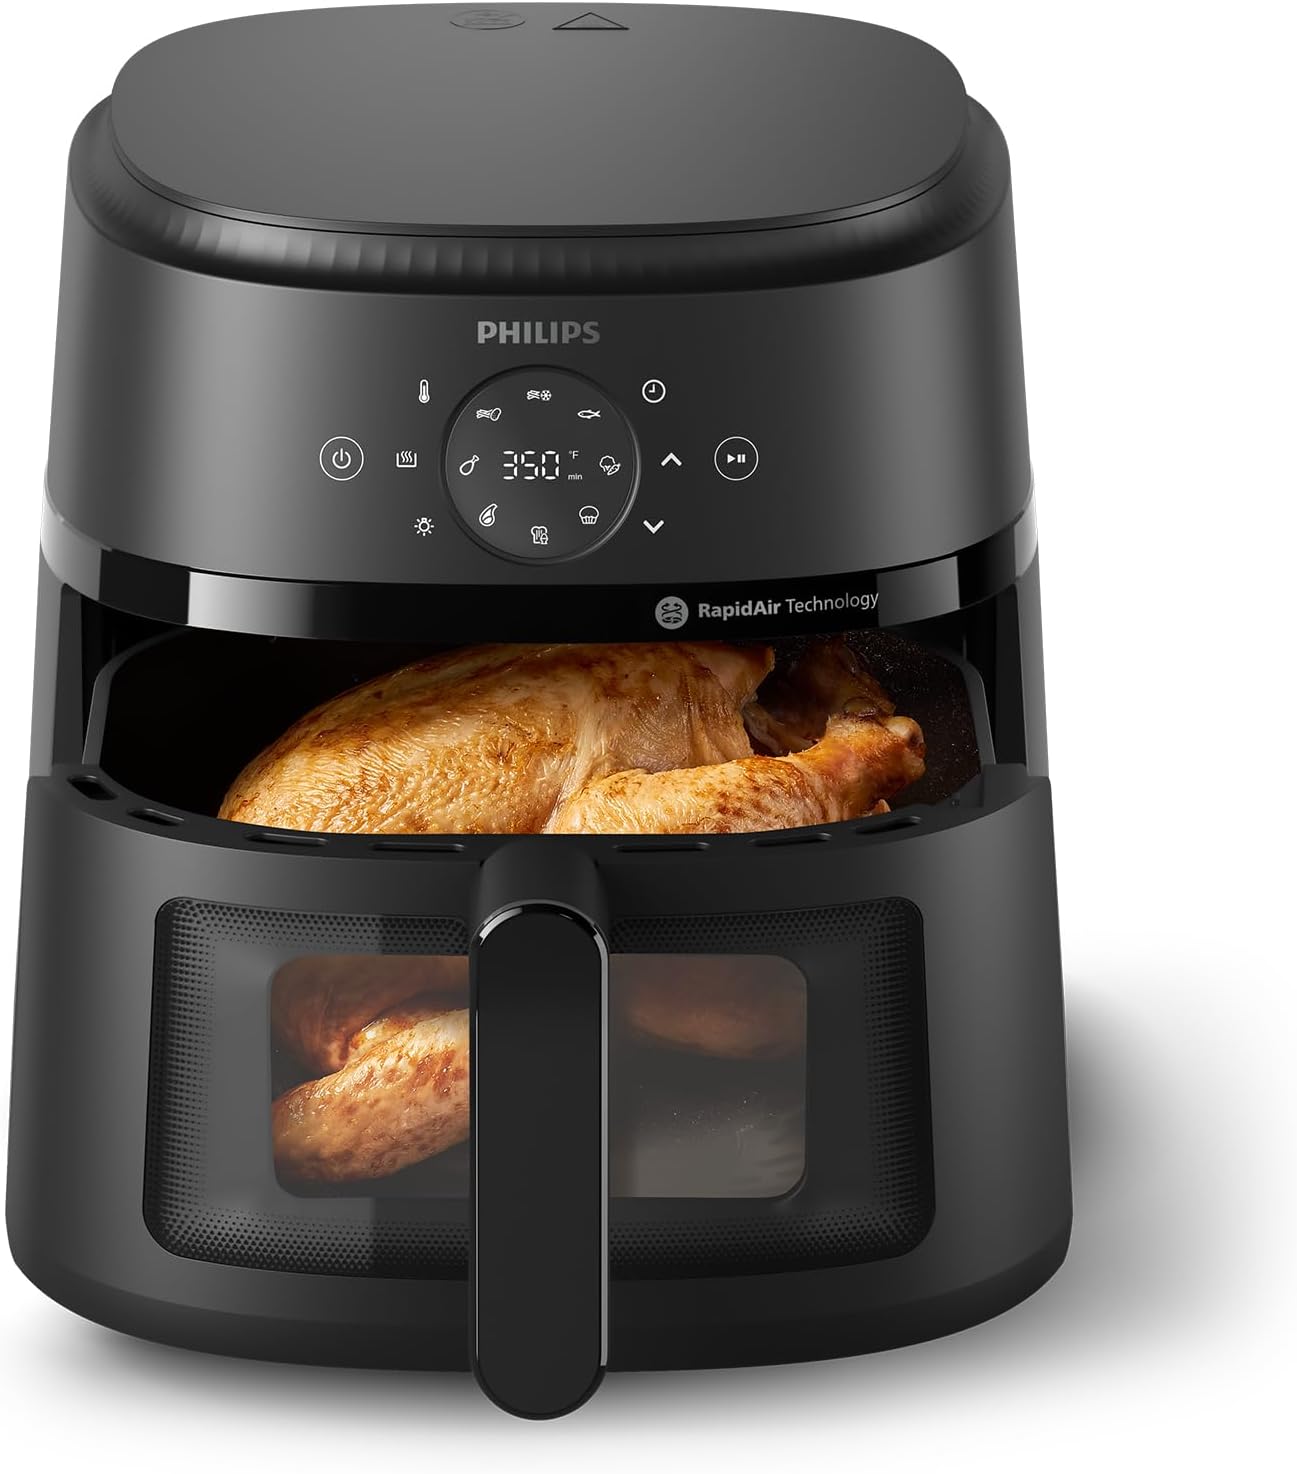
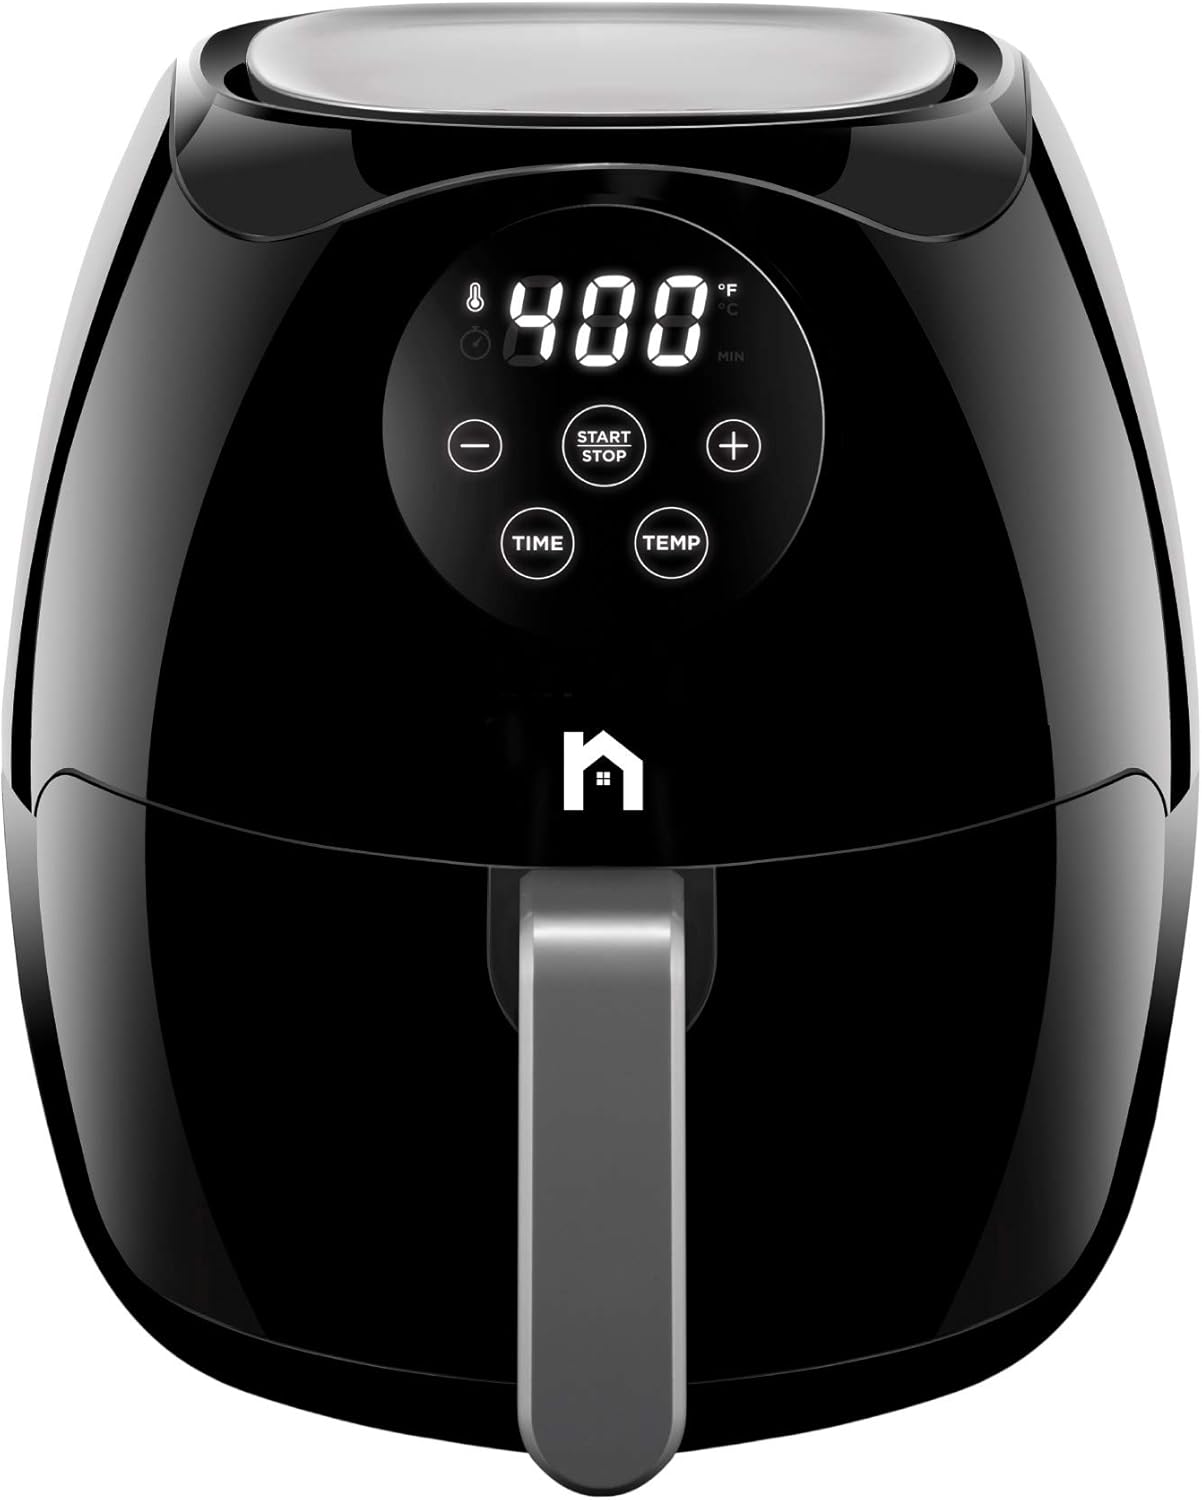
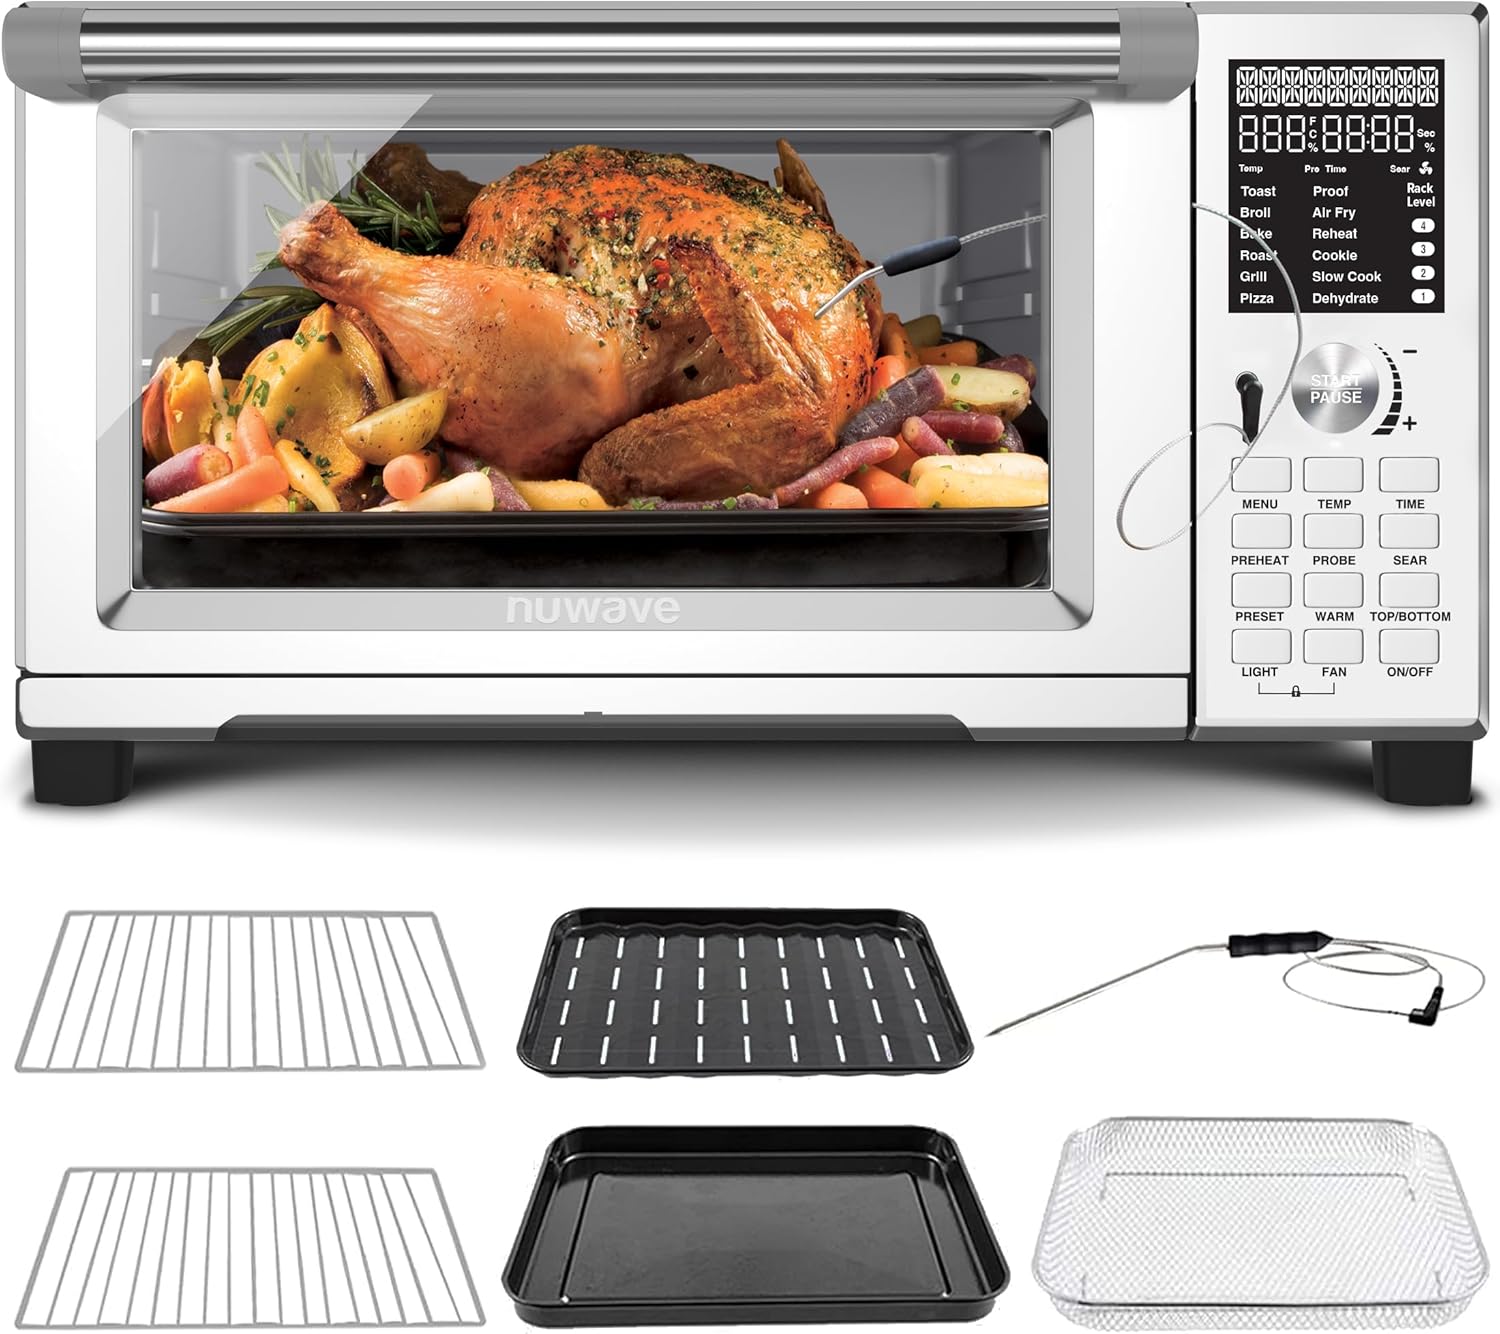
A baker’s rack—often used as a kitchen microwave stand or pantry organizer—offers multiple tiers of storage without taking up a large footprint. Unlike closed cabinetry, the open design lets you visually access everything at a glance, making it easy to grab your favorite mug or coffee beans. For small kitchens, this is a game-changer: you can store your coffee maker, grinder, kettle, mugs, and even small appliances like an air fryer or a Dual Basket Air Fryer, 12.6QT Family-Size for 10-12 People if you’re short on counter space elsewhere. The key is to organize by frequency of use and keep the most-used items at eye level.
Selecting the Right Baker’s Rack for Your Coffee Bar
Before you dive into organizing, measure your available floor space and ceiling height. Look for a rack with adjustable shelves—this allows you to customize the height to fit a tall espresso machine or a stack of mugs. Heat-resistant surfaces are a plus if you plan to place a hot coffee maker directly on a shelf. Also consider the weight capacity: a heavy microwave or a Dual Basket Air Fryer requires sturdy metal construction. For a coffee-focused setup, you’ll want at least three shelves: one for the coffee machine, one for cups and accessories, and one for bulk supplies like beans and filters.
Step-by-Step Guide to Organize Your Coffee Bar on a Baker’s Rack
Step 1: Declutter and Categorize Your Coffee Essentials
Pull everything from your current coffee station—mugs, pods, syrups, stirrers, filters, and any small appliances. Sort them into categories: daily use (coffee maker, kettle, favorite mug), weekly use (extra beans, cleaning tools), and occasional use (specialty brewers, travel mugs). Anything you haven’t used in six months should be donated or stored elsewhere. This step ensures that only the essentials make it onto your baker’s rack.
Step 2: Assign Zones on the Rack
Think of your baker’s rack as a coffee bar with zones:
- Top shelf: Decorative items or rarely used equipment (like a secondary pour-over set).
- Middle shelf (eye level): Your primary coffee maker, such as a drip machine or an espresso maker. This is also where you’ll store your go-to mugs and a small tray for spoons, sweeteners, and stirrers.
- Bottom shelf: Heavier bulk items—extra bags of coffee beans, a canister of sugar, and a small trash bin for used pods. If your rack is sturdy, you can also place a OXO Good Grips Vegetable Chopper or other small kitchen gadgets here if they’re part of your daily routine.
- Side hooks or overhead bar: Hang mugs or towels for easy access.
Step 3: Incorporate Storage Solutions Within the Rack
Maximize every inch of your baker’s rack with smart add-ons:
- Baskets or bins: Use woven baskets or clear acrylic bins to corral small items like tea bags, sugar packets, and stir sticks. This prevents visual clutter while keeping everything accessible.
- Spice racks or tiered shelves: Place a small tiered shelf on the middle tier to hold your coffee syrups and flavorings without taking up too much vertical space.
- Magnetic strips: Attach a magnetic strip to the side of the rack to hold metal accessories like a milk frother whisk or a bottle opener.
- Under-shelf hooks: Install hooks underneath a shelf to hang mugs or small towels.
Step 4: Optimize for Electricals and Cords
If you’re using the baker’s rack as a kitchen microwave stand or for a coffee maker, manage cords neatly. Use cable ties or cord clips to bundle wires along the back legs of the rack. A power strip with a built-in surge protector can be mounted on the underside of a shelf (out of sight but within reach) to plug in multiple appliances like a coffee maker, kettle, and even a small air fryer if space allows. Keep the counter area near the rack clear by storing only the most-used appliances on the rack itself.
Step 5: Style the Coffee Bar for Visual Appeal
Function meets form when you add a few decorative touches:
- Add a small plant: A faux succulent or a small herb plant on the top shelf brings life to the space.
- Use a tray: Place your coffee machine on a small tray to catch spills and create a defined zone. This also makes cleaning easier.
- Display your favorite mugs: Group mugs by color or size on a mug tree or on hooks for a curated look.
- Incorporate a chalkboard or sign: A small chalkboard listing the day’s coffee special or a favorite quote adds personality.
Maximizing Small Kitchen Counter Space with a Baker’s Rack
The beauty of a baker’s rack is that it effectively creates new counter space. By moving your coffee station to the rack, you free up valuable square footage on your main counter for food prep. If your rack is situated near a power outlet, you can even relocate other small appliances like a toaster or a OXO Good Grips Vegetable Chopper for quick chopping tasks. This approach is especially effective in galley kitchens or apartments where every inch counts.
Common Mistakes to Avoid
- Overloading shelves: Stick to the weight limit. Heavy appliances like a microwave or a large air fryer should go on the bottom shelf to prevent tipping.
- Ignoring vertical space: Use the height between shelves. Stack small items in bins or use risers to create multiple levels.
- Neglecting accessibility: Keep your daily-use items—mugs, coffee, filters—at arm’s reach. Reserve high and low shelves for backups.
- Forgetting light: If your baker’s rack is in a dim corner, add a small battery-operated LED puck light under a shelf to illuminate your coffee station.
Integrating Other Small Appliances into Your Baker’s Rack Setup
Your baker’s rack can do double duty. If you have limited counter space, consider placing a compact air fryer or a microwave on the bottom shelf. For instance, the Dual Basket Air Fryer, 12.6QT Family-Size can sit on a lower shelf while you use the middle tier for coffee prep. This creates a multi-functional station that serves both your coffee cravings and quick meal needs. Just ensure proper ventilation—leave a few inches of clearance around any appliance that generates heat.
Maintaining Your Coffee Bar Organization
Once your baker’s rack coffee bar is set up, maintenance is key. Wipe down shelves weekly, clean any coffee spills immediately, and rotate supplies to keep everything fresh. Seasonal refresh—like swapping out mugs for winter or adding a holiday-themed sign—keeps the setup engaging. Every few months, reassess what’s on the rack and donate items you no longer use.
Conclusion
Organizing a coffee bar with a baker’s rack is a practical and stylish solution for small kitchen counter space. By following these steps—decluttering, zoning, using smart storage, managing cords, and adding personal touches—you can transform a cluttered corner into a streamlined morning hub. Not only will you enjoy a more efficient coffee routine, but you’ll also gain back precious counter space for cooking and baking.
Ready to Build Your Dream Coffee Bar?
If you’re looking for the perfect baker’s rack or essential coffee bar accessories, check out our selection of OXO Good Grips Vegetable Chopper and other kitchen utility deals. Start your journey to a tidier, more functional kitchen today!